
If you’re an online course creator on Teachable you know how complicated things can get once you have several courses to sell. This means multiple sales pages, checkout pages, upsells, not to mention the constant promotions you’ll be running to keep selling more courses.
However, there is a solution to this problem, turn your courses into a membership.
Can You Setup a Membership on Teachable? Yes, Teachable allows you to set up recurring or subscription payments on courses to create a membership. You can also bundle multiple courses into one membership program to sell them as a group and even add a community.
If you’re thinking about turning your course business on Teachable into a membership business and adding a recurring payment plan then keep reading to learn just how you can do this.
Can You Setup a Membership with Teachable
When it comes down to it you can set up a membership in Teachable. But in order to set up a membership correctly in Teacable it should have 3 things, a recurring payment, a community, and leadership.
Most people think of Teachable solely as a platform to create just courses but you can also group all of your courses together in a bundle and sell them as a monthly membership program.
Here’s a look at each individual piece of the membership.
#1 Payment
Teachable offers 4 payment options for selling your courses.
The first is to offer your course for free. This is a great option for doing a mini-course to get students to sign up for your school and selling your paid courses or membership.
You can do a one-time payment plan. This is typically used to sell your flagship or high-end training courses.
You can also do a payment plan. This is typically used for costly courses to break one bigger payment into smaller payments. For example, instead of charging $1000 for a course, you could also add a payment plan of 4 monthly payments of $250.
Finally, you can offer a subscription plan. This is where you place a recurring fee on a product. For example a few memberships I belong to charge $49 a month or an annual price of $1000 a year.
A membership typically offers some sort of subscription plan with its membership but just because you can offer a recurring payment in Teachable doesn’t necessarily make your course a membership. There is one other component you need to make it a membership.
#2 Community
People come for the courses but stay for the community. – Shane Sams Flipped Lifestyle
In order to turn your course business into a membership business, you’ll need to add a community aspect to your course business. This could be done by adding a forum, a private Facebook page, or even live Q&A calls.
A community will bring people together, build friendships, and keep people coming back month after month to your membership. Courses alone will not keep people coming back. You need to foster a community to get people to pay you every month.
#3 Leadership
A membership should also lead a person down a specific path. Just because you have a group of courses that you created doesn’t mean they will all work together in a membership.
For example, if you have a course on how to play darts and a course on basketball doesn’t mean they will work in a membership together. Instead, they need to bring people down a guided path.
The two memberships I’m part of do this in very distinct ways. The first one has several courses, a forum, and a weekly private podcast. The second, has several courses, a forum, 2 monthly live Q&A calls, and even a live event.
In the next section of this article, I’ll show you how to set up your membership inside of Teachable.
How to Setup a Membership on Teachable
So now that you know a membership is more than adding a recurring payment to an existing course but rather offering a community for people to gather, offer leadership to guide them, and charge a recurring payment for the value you’re giving them.
The next question is how do we set this up in Teachable correctly to get all 3 of these things to come together. Below are the steps you need to take to set up your membership area.
Step #1: Setup Your Membership Area
The first step is to set up your membership area. You could just change the payment plan on one of your courses to a subscription payment but the best way to do this is to set up a membership area where you can bundle all of your courses in one place.
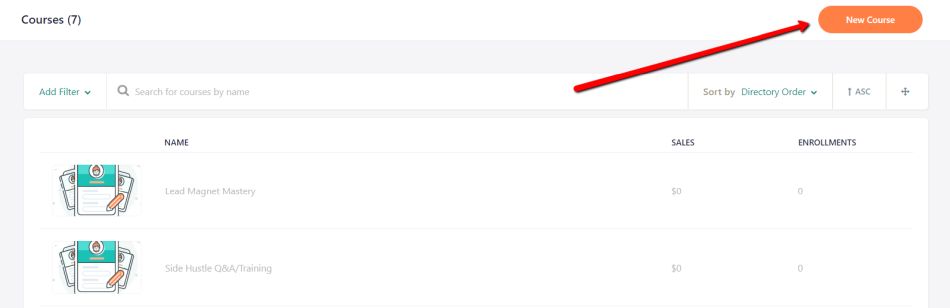
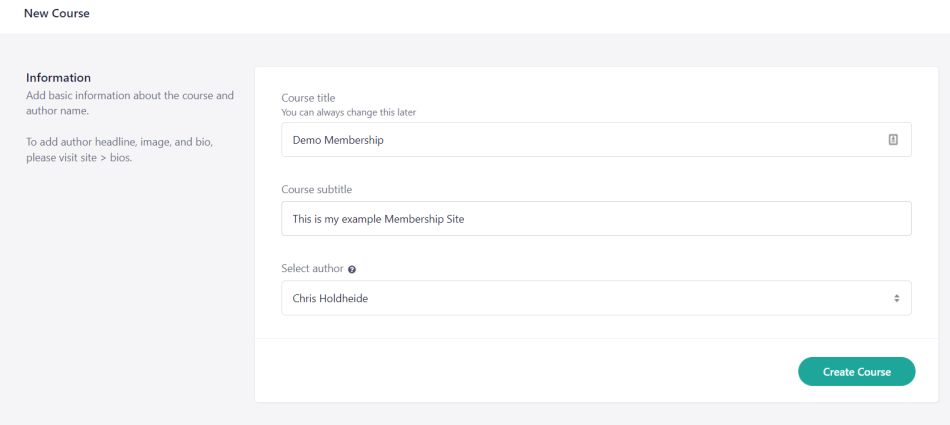
To do this create a new course on Teachable and name it. You’ll also want to write a short subtitle that describes your membership.
Side Note: If you’re not sure what to name just start with the name of your blog or website for now and you can always change it later.
Next, you’ll want to set up your sales page. I’m not a sales copy expert but be sure to cover the benefits, the value proposition to buying your membership versus buying all of your course, a few testimonials.
Step #2: Bundle Courses Into the Membership
Once you’ve got your course area set up you need to decide which courses are going to be apart of the membership.
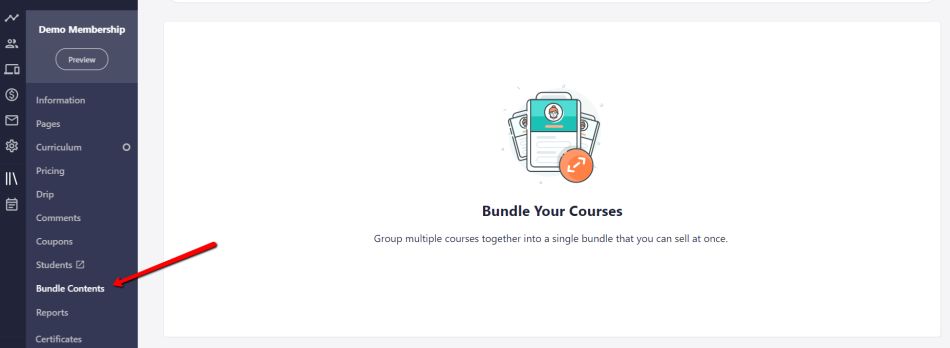
You can do this by clicking on the bundle contents section and then selecting from the drop-down which courses you want to add to the membership.
You don’t have to add all of your courses to your membership. It’s really up to you how you want to do it. You could keep new courses separate and sell them as one off sales and add them later or you could add them as you go.
Step #3: Add a Community
At this point you should have your membership area set up and bundled the courses you plan add to them membership. The next step is add a place where your community can gather.
Think of community as the glue that keeps everything together. The question is how are you going to add it to your membership? So here are a few ideas.
Private Facebook Group – One of the easiest solutions is to create a private Facebook group. With nearly everyone on Facebook, this is a simple and free solution that works great. As part of your onboarding process, you can just add a link and tell them to sign up.
Discourse – A new option these days is a platform called Discourse that works similar to a forum but way better. I use discourse in one of the memberships I’m in and what I like about it is that its hosted on their platform and its easy to navigate. It also has a great app that allows you to access it with your mobile device. The online downside is that it cost a $100 a month starting out.
Free Forum Options – The final option is to set up a free forum on a WordPress site. This would be my last option since it wouldn’t be as easy to get people to start there. On the good side, it’s free other than the hosting cost you’d have to pay. Here’s a great article that covers a few forum plugins if you’re considering this route.
In the end just pick something and get started. You can always change it later.
Step #4: Add a Q&A Section
Next, you may want to add a Q&A section where you can post your videos from your live coaching calls. Live Q&A is a great way to answer your community questions and build authority with them.
To do this you can host your calls in one of 2 ways.
#1 Zoom – Zoom is a great video and web conferencing software. The reason I suggest Zoom is because the interface is very simple to use the video looks great. They also have a great free plan that allows you to host group calls of 100 for 40 minutes.
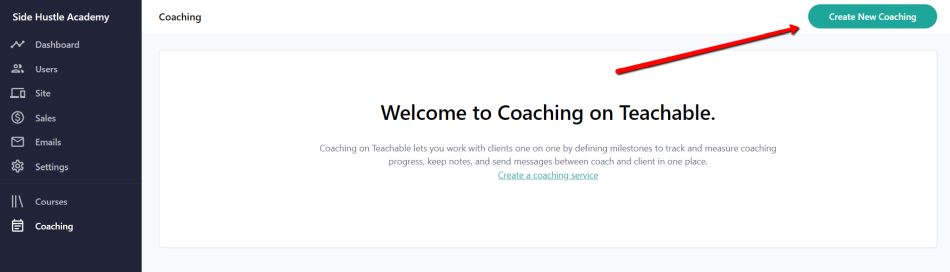
#2 Teachable Coaching – Your second option is to do Teachable coaching. This is fairly new and just recently launched. It allows you to host paid and free group calls but I have not used this feature yet. If you have used it let me know what you think of it in the comments below.
Step #5: Set a Price For Your Membership
Step 5 is to set the price for your membership. When it comes to setting your price you need to consider your value proposition.
What is a value proposition?
To illustrate this I’ll use a basic example. Lets say you have 10 course and they all cost $100. Then it would cost $1000 to buy all of your course but if you sign up for the membership today you can get all of them for $50 a month now.
On top of that you’ll get a monthly Q&A call, and a private Facebook group that would cost another $500. So when it comes to pricing I $50 a month is a very resonable price but if you’re not sure just look at some other memberships in your niche to see what their pricing at.
So how do you set all of this up?
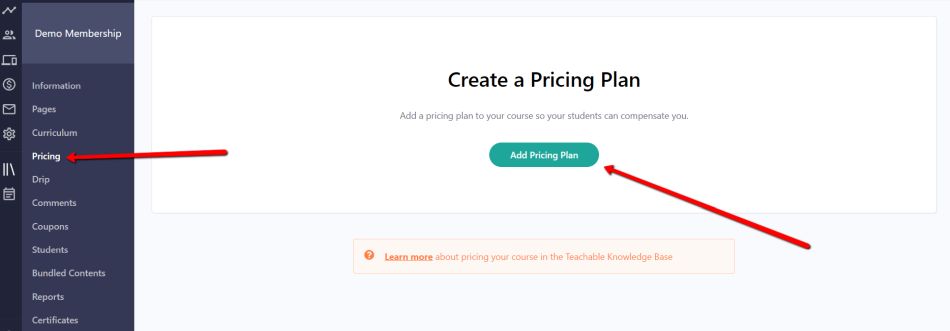
#1 To set all of this up simply click on the Pricing tab to add a pricing plan in Teachable in the membership area you’ve set up.
#2 Select the Subscription Price Plan
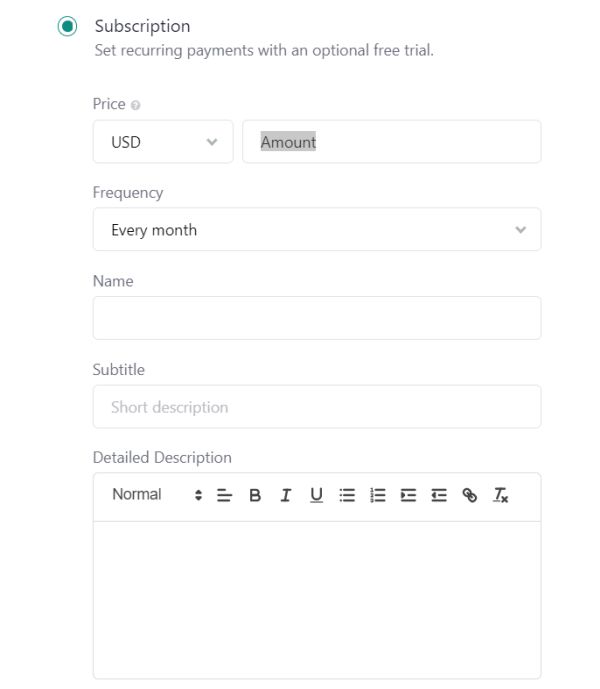
#3 Enter the Price you plan to charge.
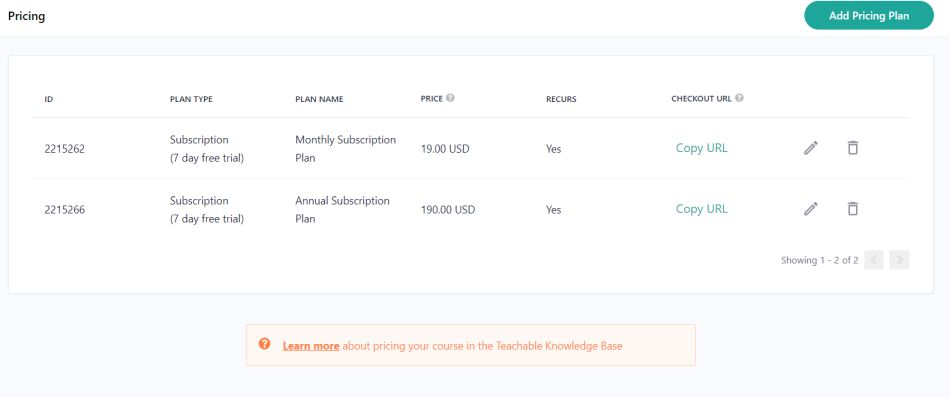
#4 Finally Select the Frequency to be charged every month. As a second pricing option, you can also set up an annual pricing plan as well. For the annual price, I usually do 2 months free as a bonus for buying annually. So if your monthly price is $19 your annual would be $190.
So now that you’ve got your pricing set up it’s time to start promoting your membership.
Step #6: Promote Your Membership
Once your membership is up and running we need to start promoting it. To help you get off to a fast start to growing your membership here are a few strategies to start with.
Strategy #1 – Contact Existing Students
To start you if you have several existing courses that you’ve been selling in Teachable you’ll want to go back to all of those students and let them know you now have a membership. Since you’re students have already bought from you it’s likely they buy from you again since they already trust you.
#1 Go to your Students List. You can do this by clicking on the Users Tab to get a full list of your students.
#2 Create an Email. Next, click on Email Students and create an email that tells them about your membership. Then do the next tip.
Strategy #2 – Offer a Free or $1 Trail
Since you’re going back to your existing members offer them a free 30 day trial to kick the tires and check things out. In this time you’ll be able get people exposed to your new membership and show them the value inside.
To create a free trial you’ll have to go back to pricing and click the little checkbox that says Offer a Free Trial.

The other option is to offer a coupon for a dollar trial. The benefit behind the dollar trial is to get people across the penny gap. The penny gap typically will eliminate all the people who don’t want to take the time to enter in there credit card info.
The benefits behind both of these trial offers is that it’ll give people that extra nudge to sign up and become a member.
Strategy #3 – Do a Different Promotion Each Week
Final Strategy is to run different promotions each week. A lot of the gurus online will tell you that you need to do a big launch 3 or 4 time s a year. Instead do a different promotion each week. Here are a few ideas to help you get started.
- Free Trails
- $1 Trails
- 20% off for life
- Quarterly Offers
- Annual Subscription Offer
Each week you’ll want to post a new offer out to your email list, social media, blog, YouTube, and any other place you can to keep driving members in.
Final Thoughts…
So now that you’ve followed the steps I’ve laid out you’re Teachable course business is now on its way to becoming a full blown membership. Congrats.